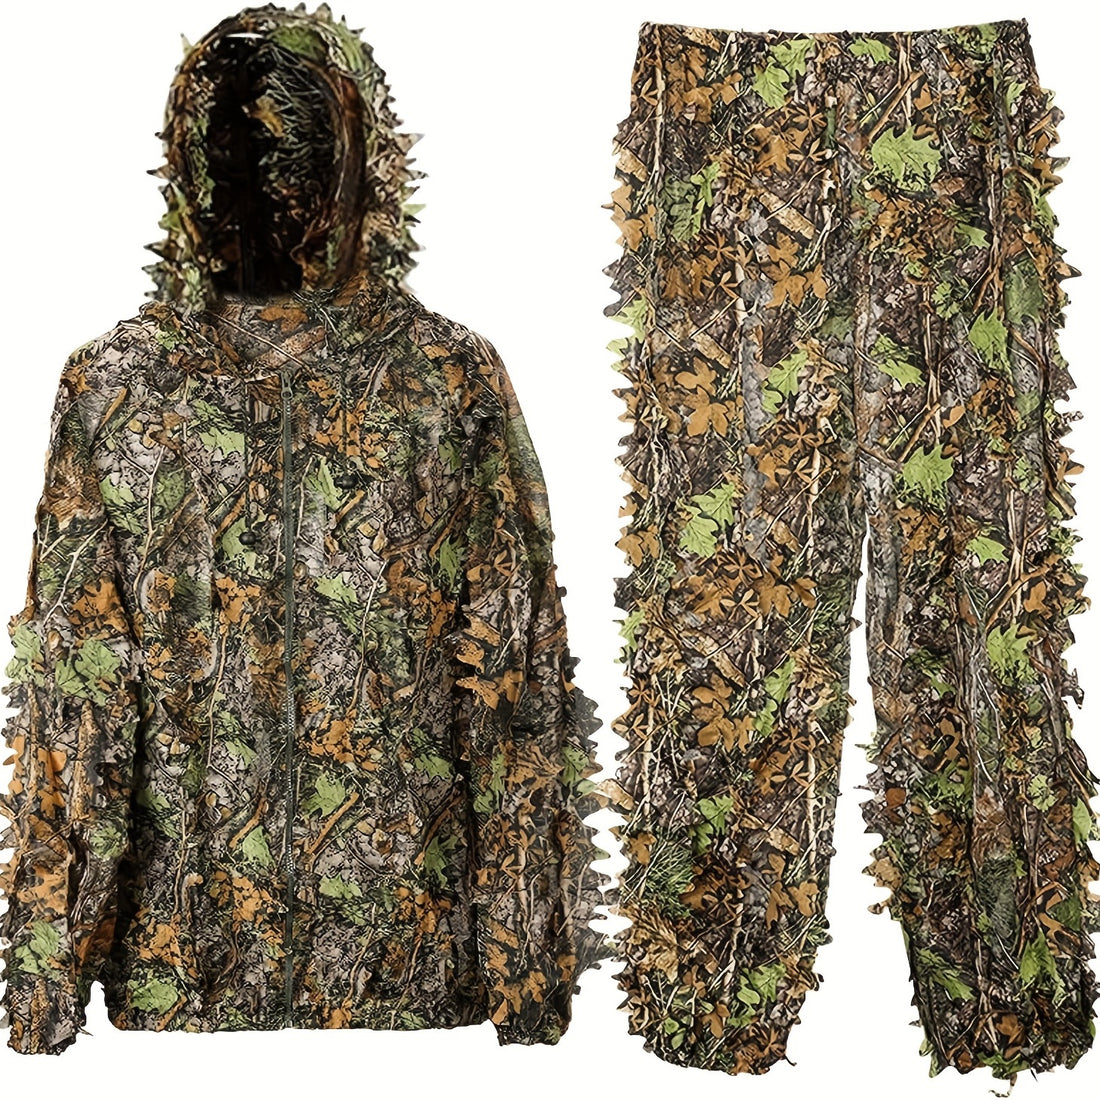

Building a ghillie suit from scratch is a time-intensive project that rewards patience and attention to detail. It allows for deep customization to match a specific environment. However, it is important to understand that this process can take 20-40 hours or more and requires a great amount of materials.
This guide provides a practical, step-by-step approach. For those who require a durable, professionally constructed suit for regular use, purchasing a ready-made model is often a more reliable and efficient option.
Steps of Making a Ghillie Suit
Phase 1: Gathering Materials and Tools
You will need a dedicated workspace and the following items:
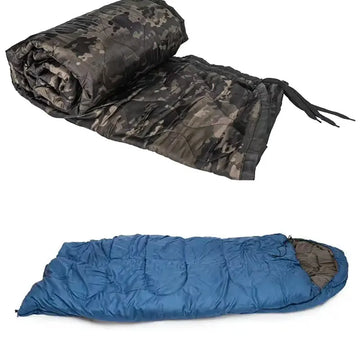
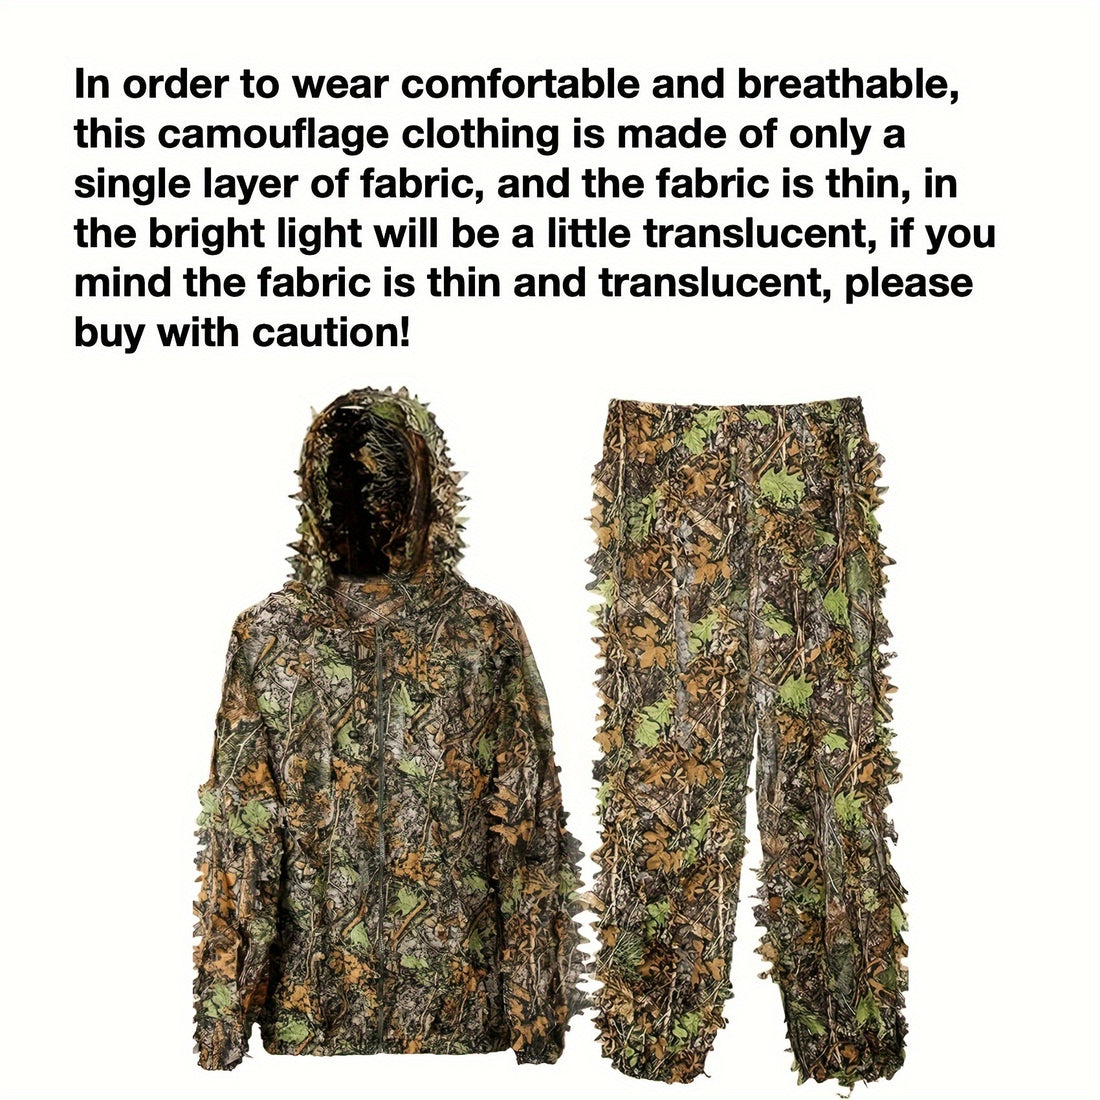
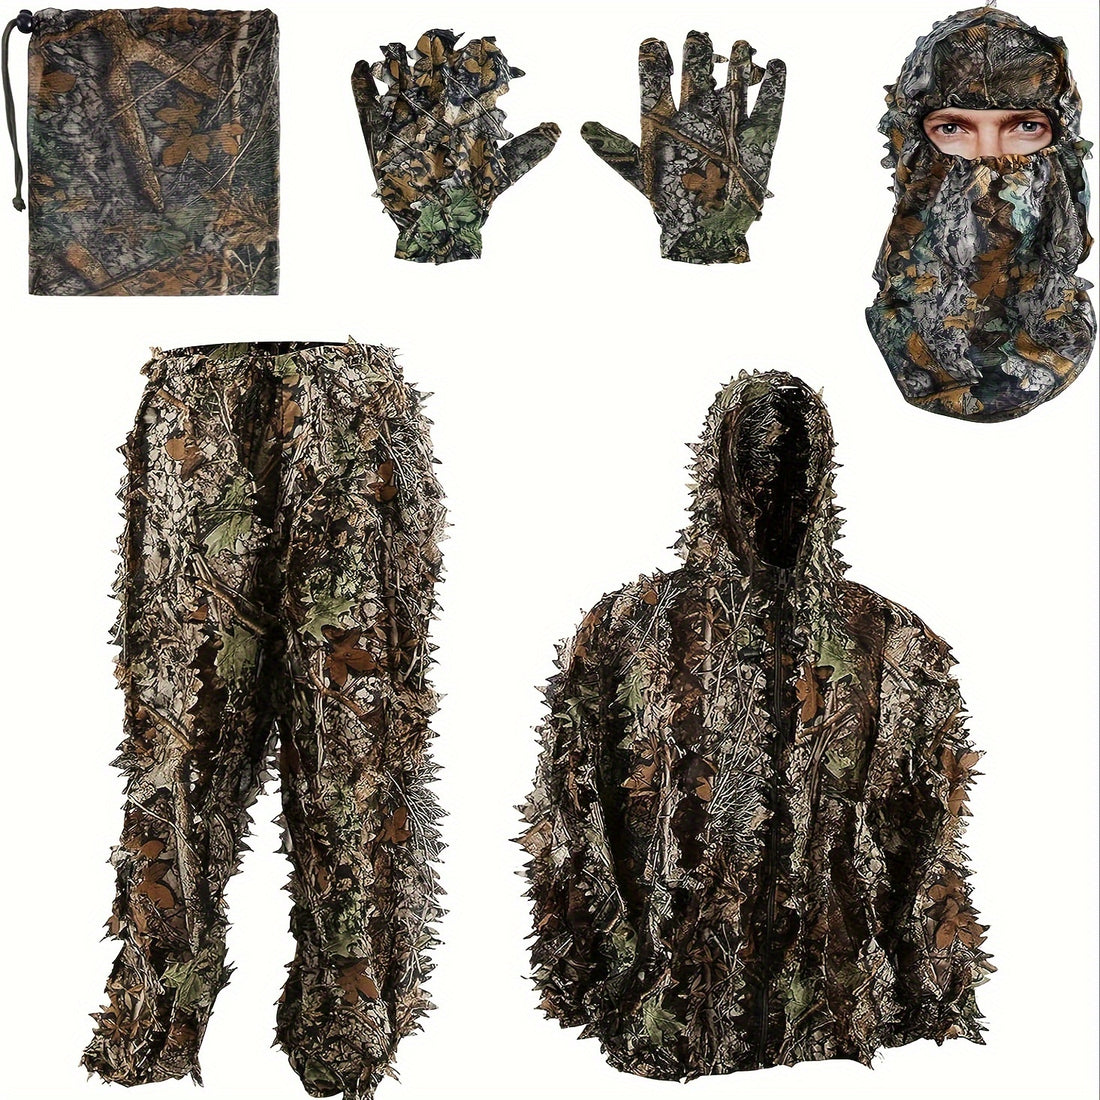
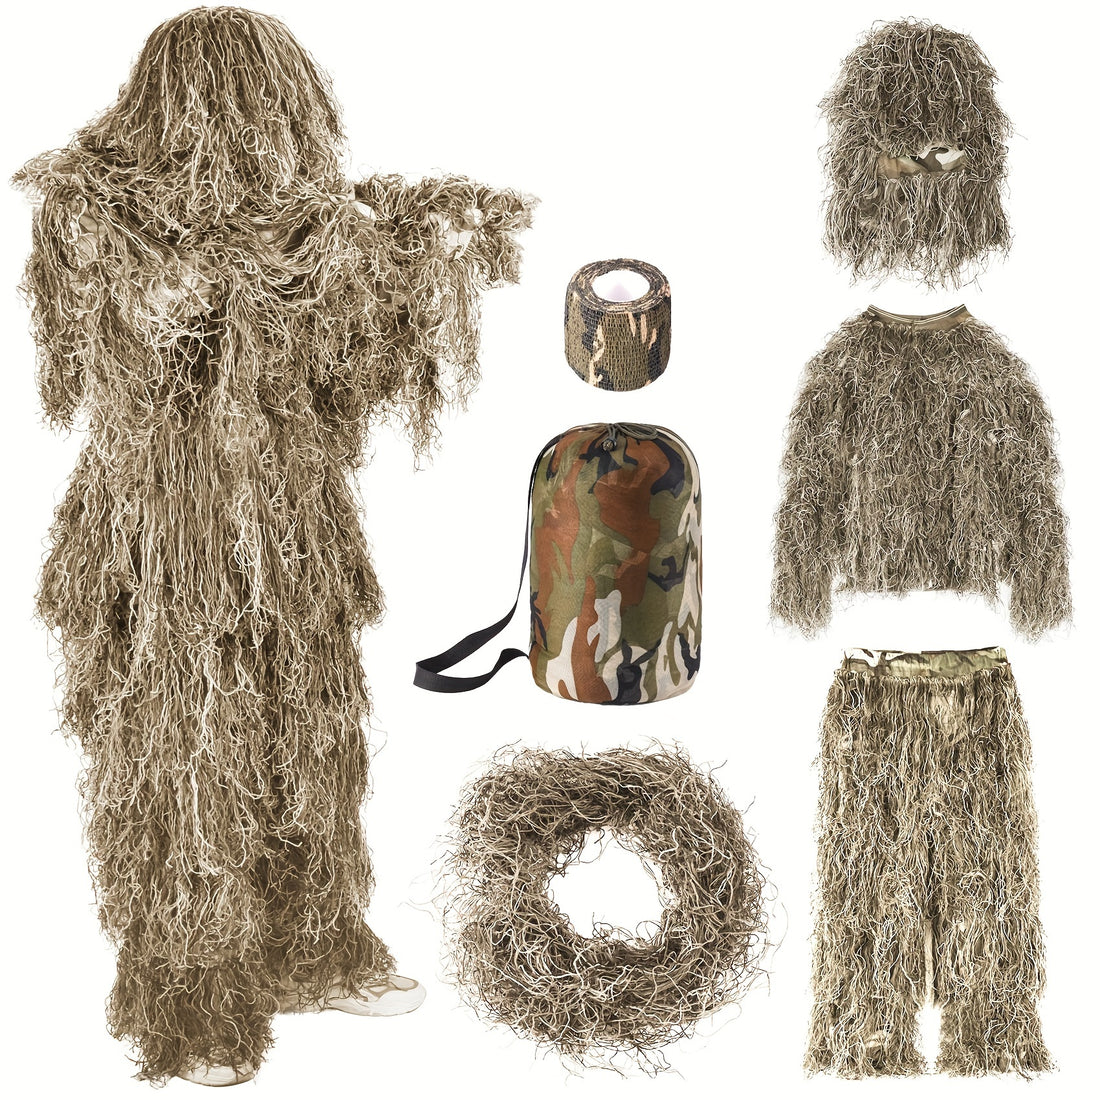
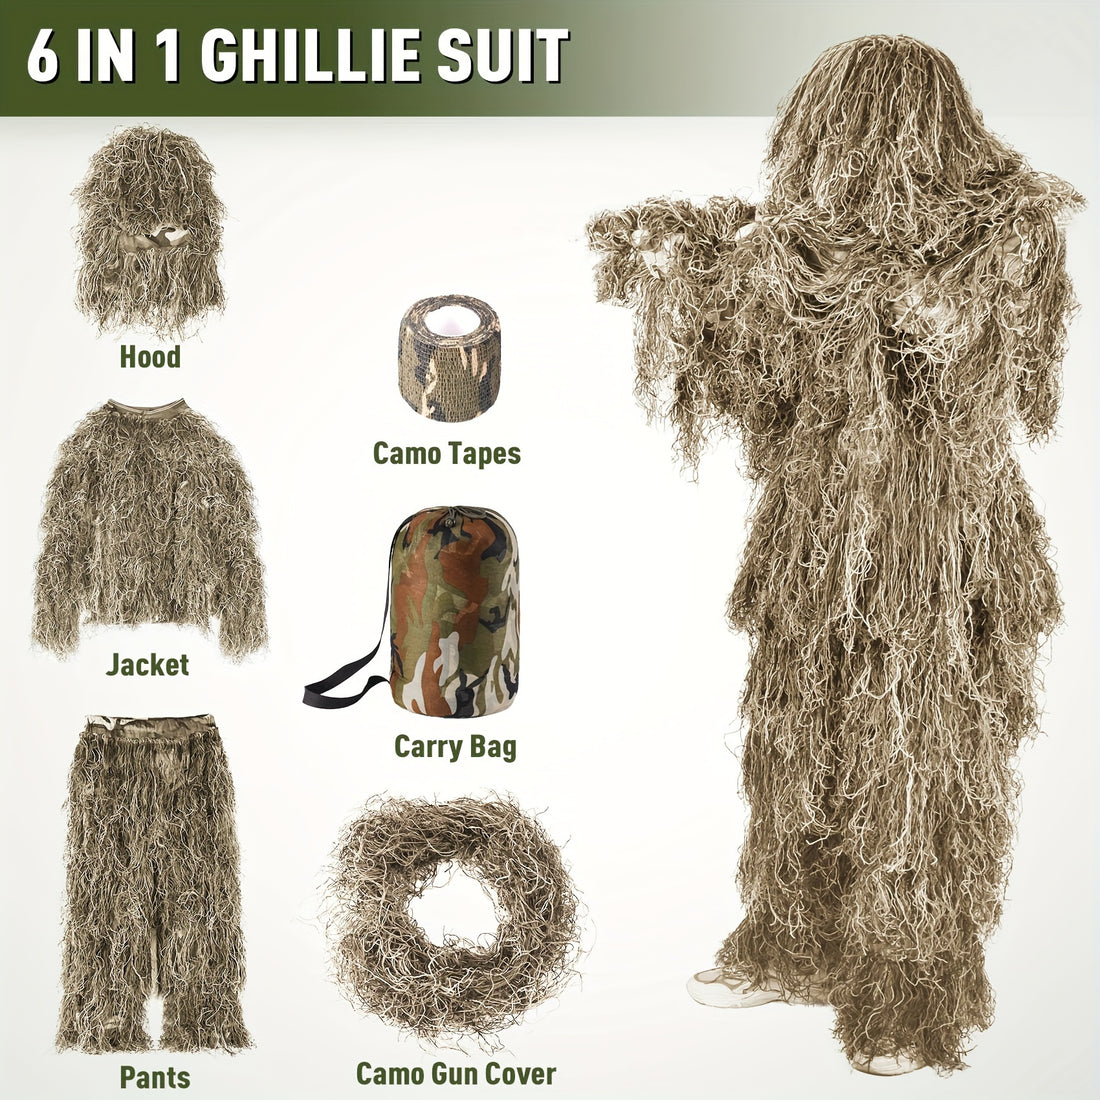
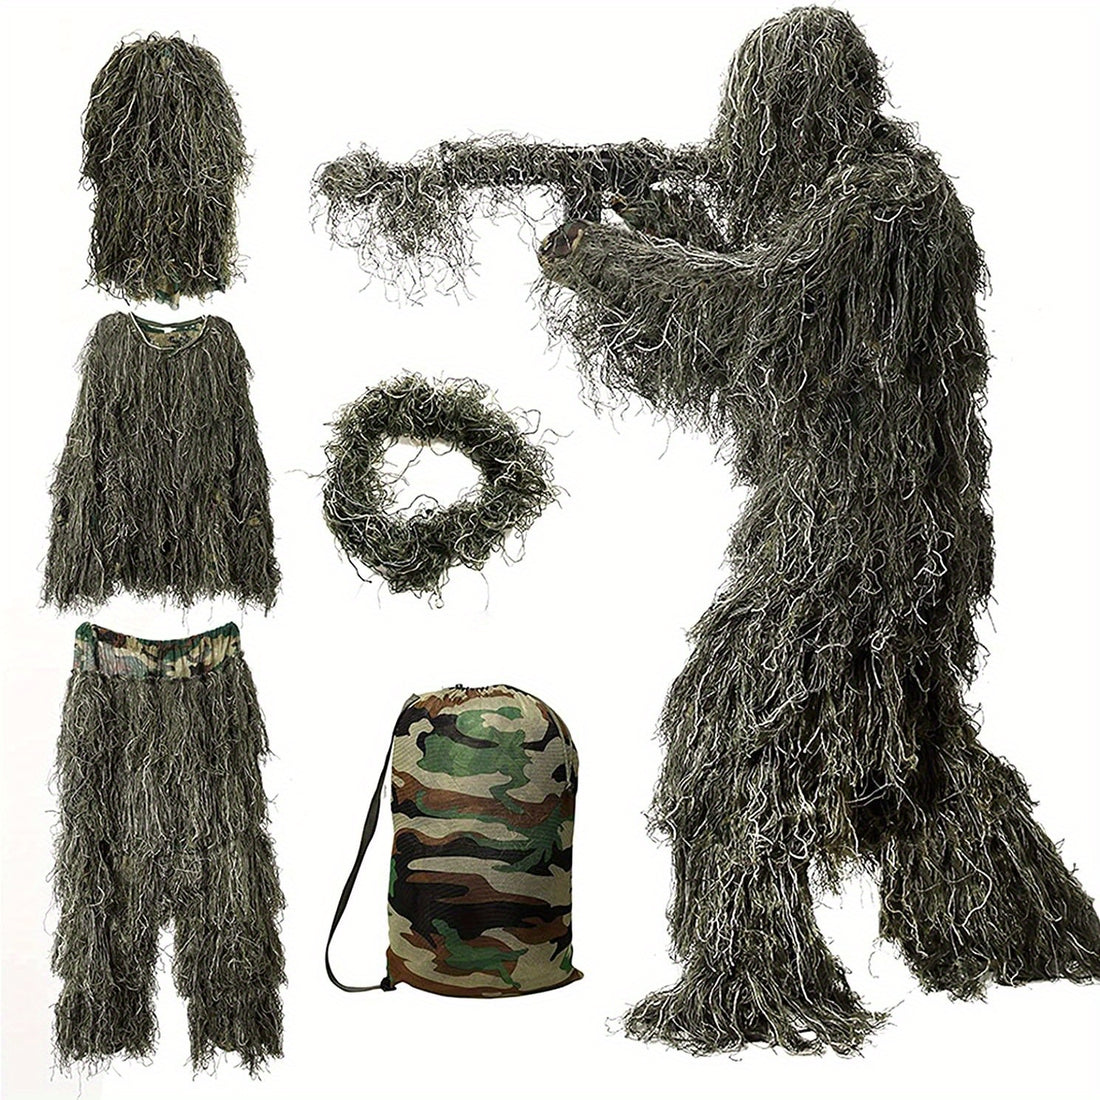
- Base Garments: A one-piece coverall or a separate jacket and pants in a neutral color like olive drab or coyote brown. A boonie hat is also essential. These should be a size too large to fit over other clothing.
- Netting: Approximately 5' x 7' of shade cloth netting or fishnet. This will form the foundation for attaching the camouflage.
- Camouflage Material: The most common choices are:
- Jute Twine: A natural fiber that dyes well and has a rough, natural texture. It is also flammable.
- Burlap: Less expensive than jute but degrades faster when wet.
- Synthetic Cord: More durable and less flammable, but can have a plastic-like sheen if not treated.
- Fabric Dye: Choose 2-3 colors of rit dye that match your primary environment (e.g., forest green, earth brown, khaki tan).
- Tools: Heavy-duty scissors, a sturdy needle, strong thread (upholstery or dental floss works well), and gloves.

Phase 2: Preparing the Base Layer
- Attach the Netting: Put on your base garments. Drape the netting over the back, shoulders, arms, and legs, and pin it in place. Remove the suit and securely sew the netting onto the fabric. Focus on high-wear areas like the shoulders, back, and seat. The netting should be loose enough to create a 3D profile but not so loose that it snags on everything.
- Reinforce Key Areas: Sew extra layers of fabric or webbing onto the knees, elbows, and seat. A ghillie suit is often used in prone positions, and these areas will experience the most wear.
Phase 3: Creating and Dyeing the Camouflage Strips
This is the most time-consuming part of the process.
Cut the Material: Cut your jute, burlap, or synthetic cord into strips varying from 12 to 24 inches in length. Irregular lengths create a more natural, broken silhouette.
Dye the Strips: Follow the instructions on your dye packages. The goal is not a single, solid color but a varied, mottled effect.
- Dye a large batch in your primary color (e.g., green).
- Dye a smaller batch in a secondary color (e.g., brown), and an even smaller batch in an accent color (e.g., tan).
- For a more realistic effect, you can lightly dab or spray dye onto some dried, colored strips to create color variations within a single strand.
Phase 4: Attaching the Strips to the Suit
This process builds the suit's signature shaggy appearance.
- Start from the Bottom: Begin tying strips to the netting at the lower hem of the jacket and pants, working your way upward. This ensures that upper layers overlap lower ones, like shingles on a roof, which helps shed water.
- Use a Secure Knot: The most common and effective knot is the lark's head knot (or girth hitch). This creates a secure, double-stranded attachment that is less likely to come loose.
- Vary Colors and Density: Mix your different colored strips randomly as you tie them on. Create a denser pattern on the top (back, shoulders, head) and a lighter density on the front and undersides to reduce bulk and improve mobility.
- Leave Gaps: Strategically leave small gaps at the armpits, inner legs, and around the face to improve ventilation and prevent overheating.

Phase 5: Final Customization and Testing
- Add Local Vegetation: Once you are in the field, tuck small bits of local foliage, twigs, and grass into the netting and strips. This instantly adapts the suit to your immediate surroundings and is the key to ultimate concealment.
- Conduct a Movement Test: Put on the complete suit and move around—crawl, kneel, and shoulder your weapon or camera. Trim any strands that consistently get caught on your gear or impede your movement.
- Inspect for Safety: Ensure your vision and hearing are not obstructed. If using natural jute, be extremely cautious around open flames, as it is highly flammable.
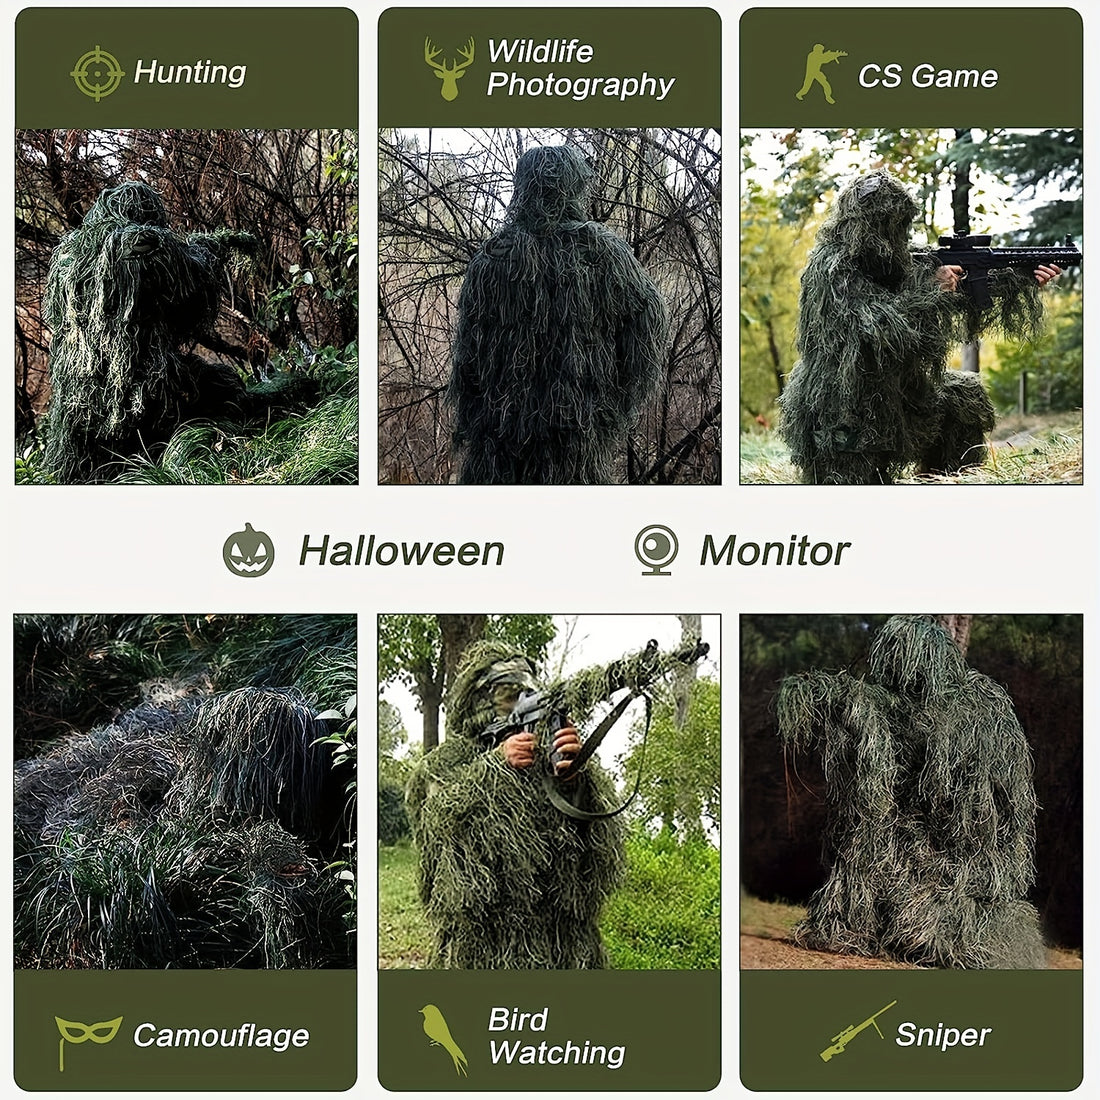
Building a ghillie suit is a project that teaches the principles of camouflage. The final product is a personal piece of gear that can be incredibly effective.
However, for those who need a proven, durable, and ready-to-use solution, professionally manufactured suits offer consistency and reliability that is difficult to achieve in a DIY project.
Shop our ghillie suit collection
About Us
Our company leverages over 15 years of manufacturing expertise to produce tactical and outdoor gear that meets professional standards. While a DIY ghillie suit is a valuable project, we offer custom-manufactured ghillie suits and components for individuals and organizations that require guaranteed performance, durability, and safety.
Our services provide tailored solutions for bulk orders, ensuring your team is equipped with reliable, mission-ready camouflage. Contact us freely.
Related Articles: Ghillie Suit: How to Properly Maintain and Clean