
Rucking, the simple act of walking with weight on your back, is an efficient way to build fitness. It requires minimal equipment but delivers great benefits for strength and endurance. If you're wondering how to start or if the gear you already own is sufficient, this guide provides clear, practical advice.
1. What is Rucking?
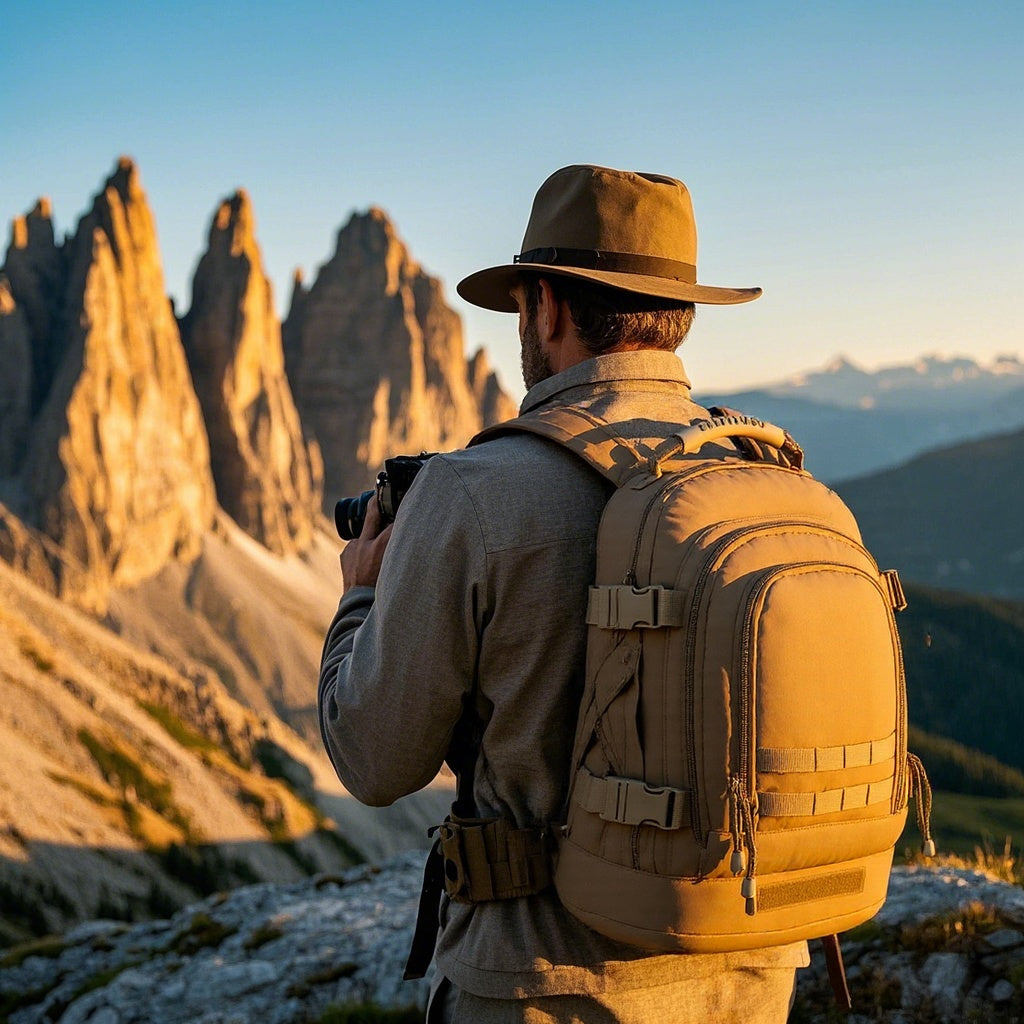
Rucking involves walking or hiking over a distance with a weighted backpack. Originating from military training, it has become a popular fitness activity for its simplicity and effectiveness. Unlike running, it is a low-impact exercise, making it easier on the joints while still providing a serious workout that strengthens your legs, core, and back and improves your cardiovascular health.

2. Can You Ruck with a Regular Backpack?
This is one of the most common questions, and the answer is: you can, but with important caveats.
A standard school or daypack is designed for light loads. When you add significant weight for rucking, a regular backpack often lacks the necessary support. You may experience strained shoulders, an aching back, and general discomfort because the straps are not adequately padded and the bag lacks stability.
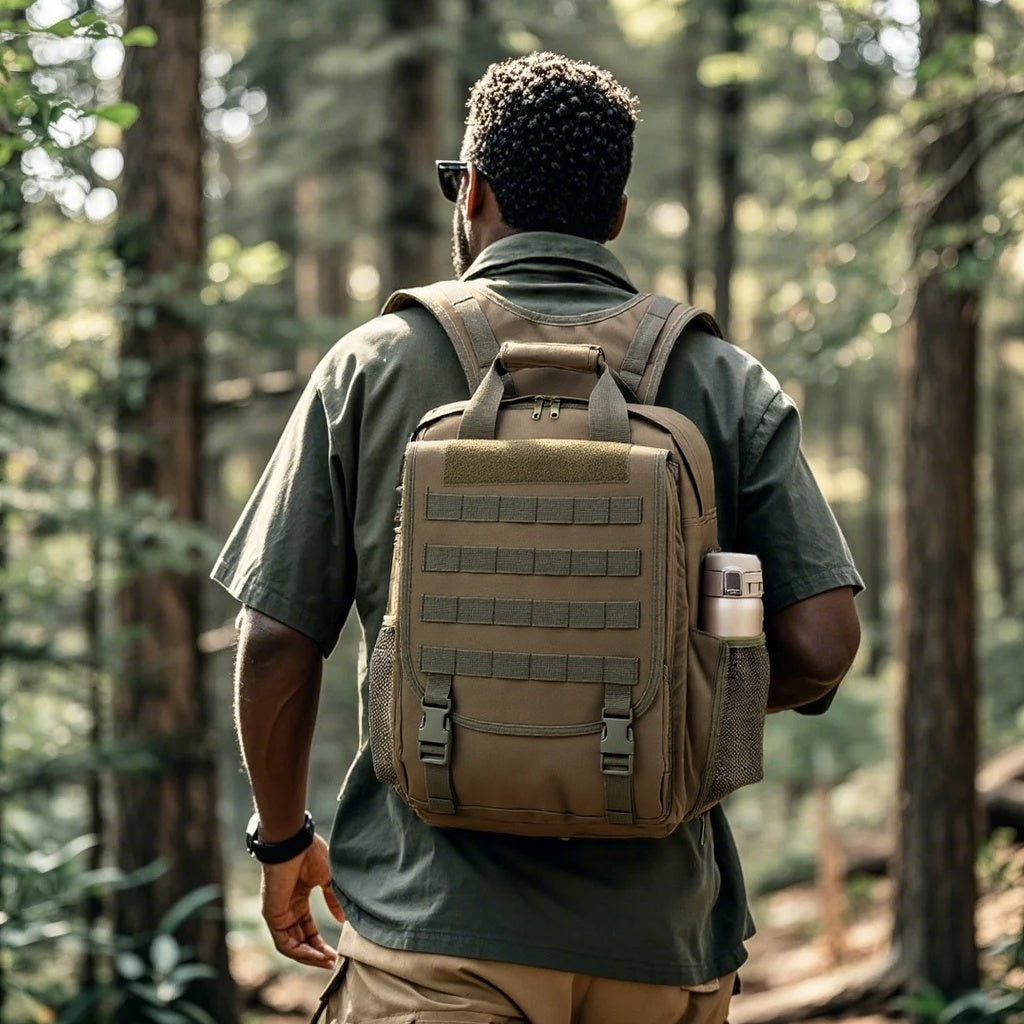
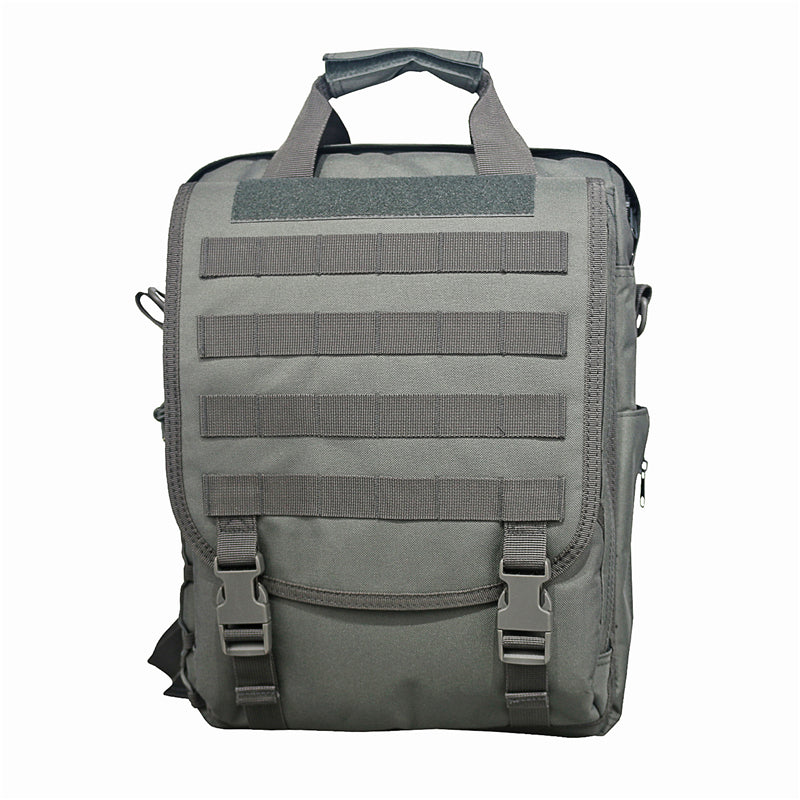
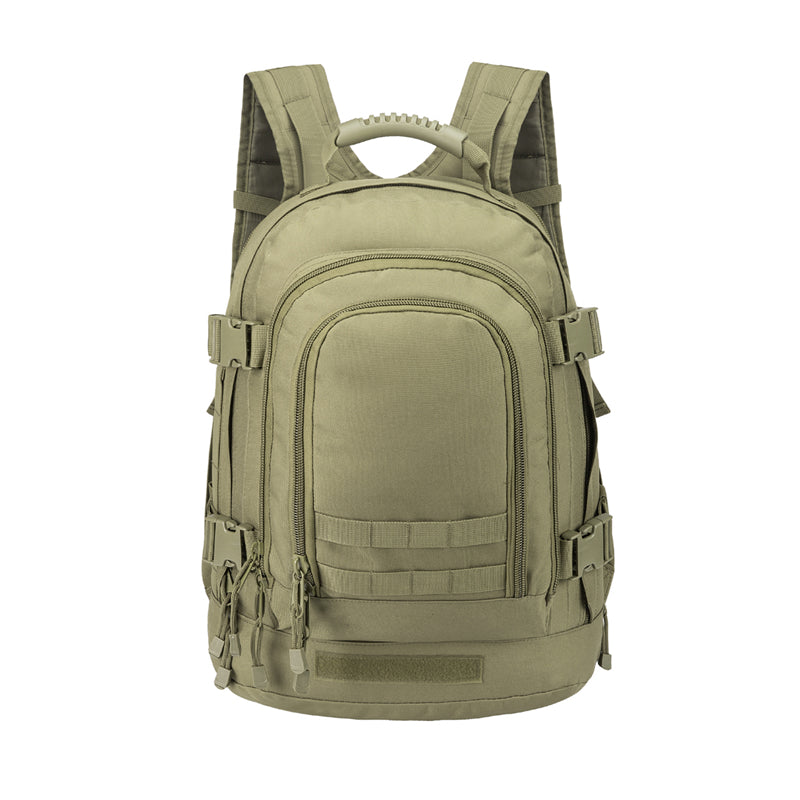
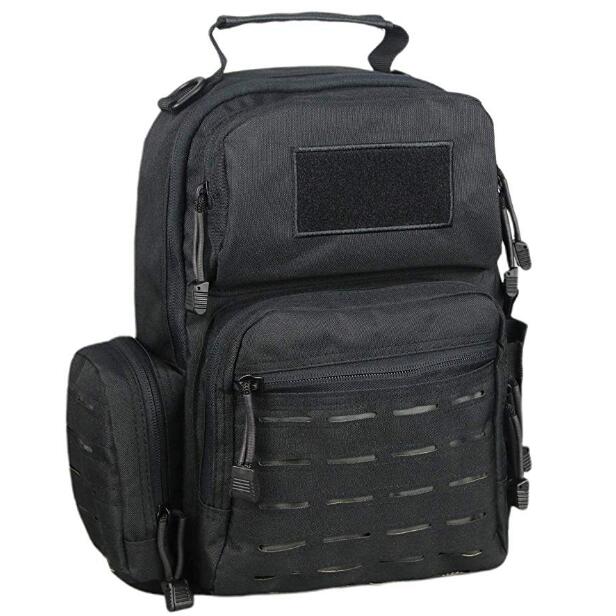
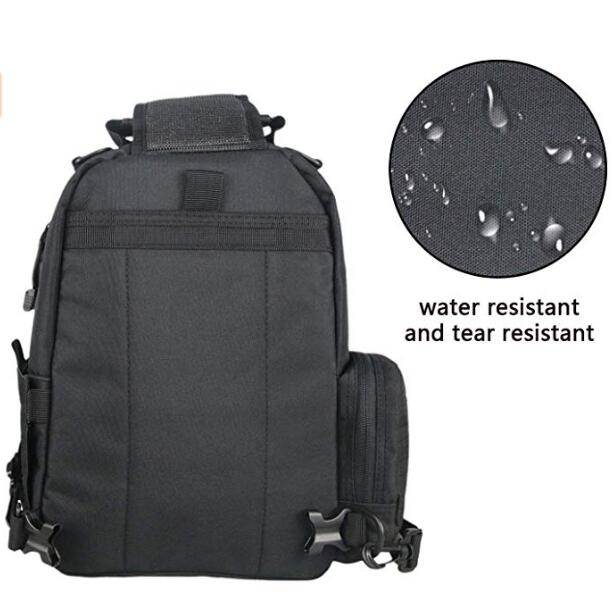
For short, light rucks with minimal weight, a sturdy regular backpack might suffice to get you started. However, for consistent training or heavier loads, a dedicated rucking backpack or a tactical pack is a much better investment. These are built with features that make carrying weight safer and more comfortable:
- Padded, Thick Shoulder Straps: Distribute weight evenly.
- Padded Back Panel: Increases comfort and allows for better air circulation.
- Hip Belt (Crucial): Transfers the weight from your shoulders to your powerful hip and leg muscles.
- Chest Strap: Improves stability and prevents the shoulder straps from slipping.
- Durable, Structured Material: Holds its shape and keeps the load secure.
Using improper gear is a common cause of rucking injuries. If you choose to start with a regular backpack, listen to your body carefully and keep the weight very light.
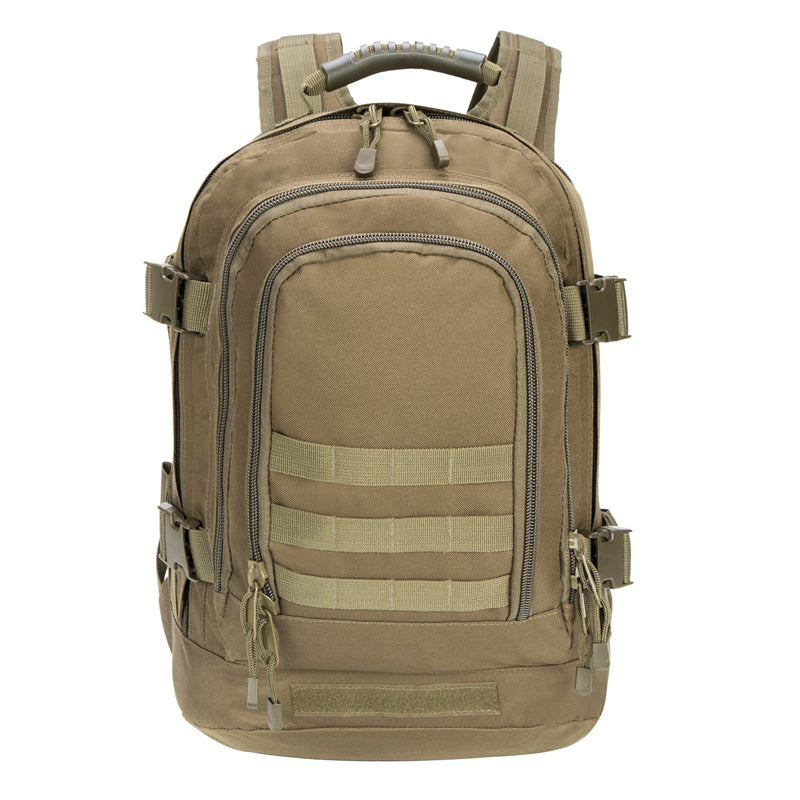
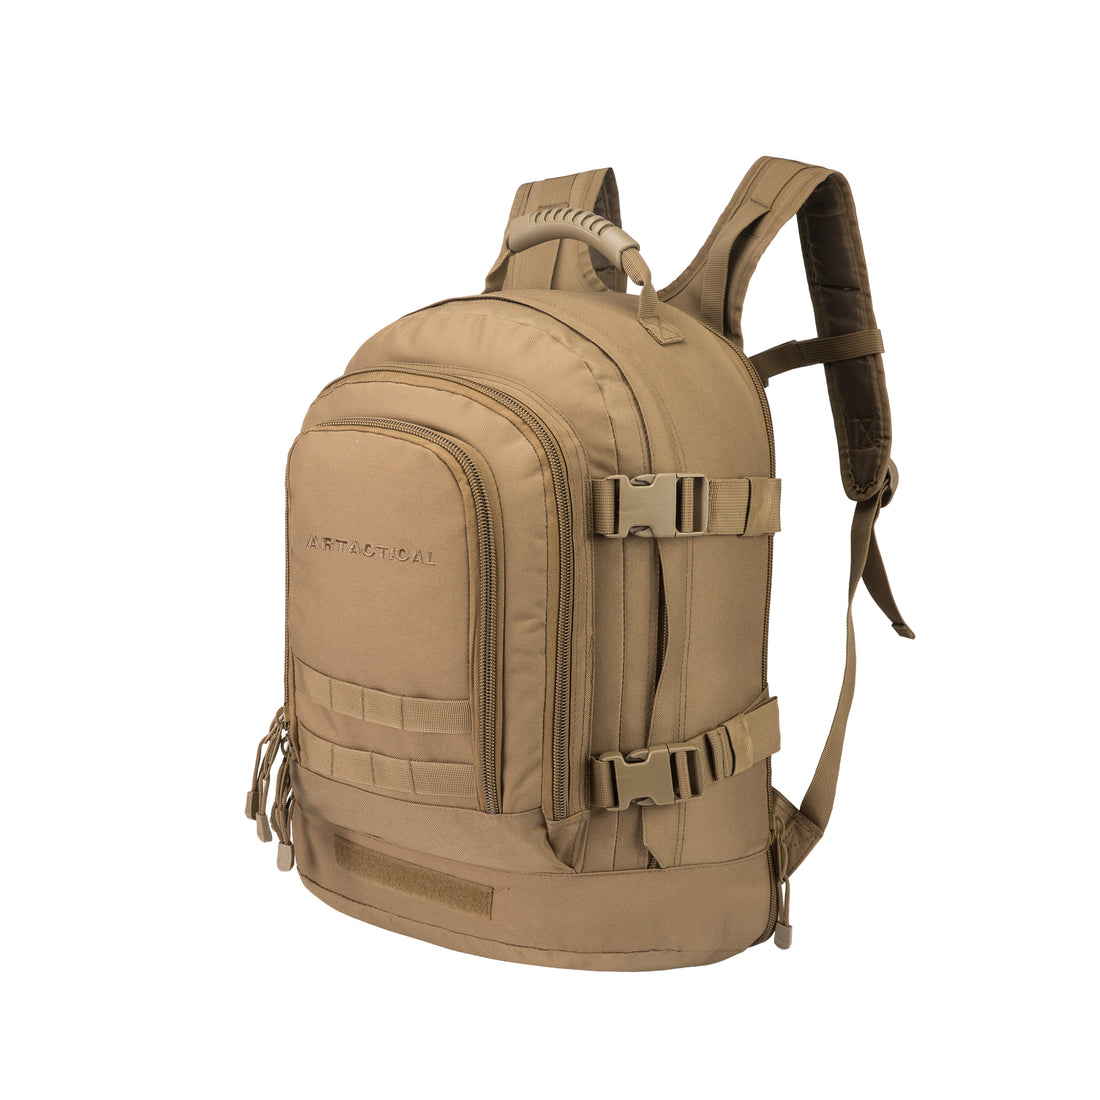
Shop our tactical backpacks
3. How to Choose the Right Weight and Pack Your Bag
Selecting an appropriate weight is essential for safety and progress.
- Start Light: Beginners should begin with a weight equal to 10% of their body weight. For a 180-pound person, this is roughly 18 pounds.
- Progress Slowly: After 2-3 comfortable sessions, you can gradually add weight in 5-pound increments. A good long-term goal is 20-30% of your body weight.
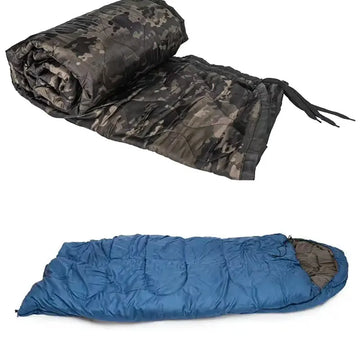
- Common Weight Options: Use a dedicated ruck plate, a sandbag, or even tightly packed bags of rice or sealed water bottles.
Packing your backpack correctly is just as important. Place the weight high and as close to your back as possible. This positioning helps maintain your center of gravity and prevents the pack from pulling you backward. Use towels or clothing to secure the weight and prevent it from shifting during your walk.

image source: https://stock.adobe.com/
4. Proper Rucking Form and Technique
Good form protects you from injury and makes rucking more efficient.
- Posture: Stand tall with your shoulders back and down. Avoid hunching forward.
- Core: Gently engage your core muscles. This provides essential support for your lower back.
- Gaze: Look ahead, not down at your feet. This keeps your neck in a neutral position.
- Stride: Take natural, comfortable steps. Avoid overstriding, which can jar your joints.
On hills, shorten your stride and lean slightly into the incline. On uneven terrain, focus on stability, watching your step, and using a slightly wider stance for balance.

5. A Sample Beginner Rucking Plan
This four-week plan allows your body to adapt safely. Ruck 2-3 times per week with rest days in between.
- Week 1: 1-2 miles with 10% of your body weight.
- Week 2: 2-3 miles with 10-15% of your body weight.
- Week 3: 2-3 miles with 15% of your body weight.
- Week 4: 3 miles with 15-20% of your body weight.
The key is to increase either distance or weight in a given week, but not both at the same time.
6. Rucking Safety Tips
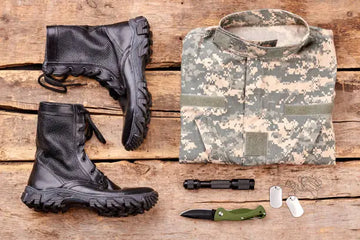
- Footwear: Wear supportive shoes or boots with good traction.
- Hydration: Drink water before, during, and after your ruck.
- Listen to Your Body: Sharp pain is a signal to stop. General muscle fatigue is normal; joint or sharp back pain is not.
- Start Slowly: The most common mistake is doing too much, too soon, which leads to injury.
Frequently Asked Questions
1. How long should I ruck as a beginner?
Beginners should start with a short duration, around 20-30 minutes, or aim for 1-2 miles. As you get comfortable, you can gradually increase the time and distance.
2. Is rucking better than running?
It is not necessarily better, but it is different. Rucking builds strength and endurance with less impact on your knees and hips, while running is a more intense cardiovascular workout.
3. Is a weighted vest the same as rucking?
No, while both add resistance, a weighted vest distributes weight across your torso, while a rucking backpack places weight on your back and shoulders. The positioning of the weight affects muscle engagement and balance differently.
4. What should I put in my backpack for rucking?
Start with a single, secure weight source placed high and close to your back. You can add soft items like a jacket or a towel to stabilize it. For longer rucks, you would also carry water, snacks, and a first-aid kit.
5. How many times a week should I ruck?
For beginners, 1-2 times a week is a good start. As you build endurance and strength, you can increase to 3-4 times a week, allowing rest days in between for recovery.
As a professional manufacturer of tactical and outdoor gear with over 15 years of experience, we understand the importance of durable, well-designed equipment. We apply the same principles of quality and functionality to our range of tactical backpacks and related gear.
We support businesses and organizations through our custom manufacturing and stock options. Learn more about our capabilities on our website.